Blending is the single skill that takes colored pencil work from flat and basic to rich and dimensional. If you’ve ever colored a flower and ended up with obvious hard lines where your colors stop and start — this guide is for you. Below you’ll find everything you need to know to blend colored pencils smoothly, from choosing your colors to layering technique to the finishing touches that bring it all together.
Watch: How to Blend Colored Pencils
This tutorial from Posh Coloring Studio walks through the exact blending technique described below — great for visual learners.
Understanding Paper Tooth
Before you pick up a pencil, it helps to understand why blending works the way it does. Colored pencil pigment sits on top of the paper, held in place by the paper’s texture — called its tooth. Every time you add a layer of color, you’re depositing pigment into those tiny grooves. Once the tooth is full, no more pigment will adhere — this is called wax bloom or reaching the paper’s saturation point.
The implication: always start light. If you press hard in your first layers, you fill the tooth too quickly and have nowhere left to go. Light layers preserve the tooth so you can build up many passes of color and achieve a seamless blend. For the best results, use quality drawing paper or Bristol board — read our guide to the best paper for colored pencils to find the right surface for your style.
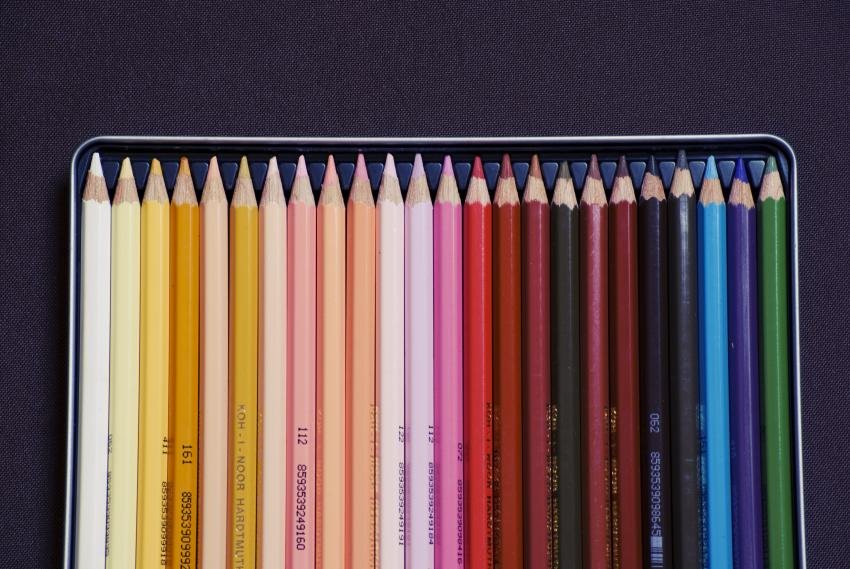
Choosing Your Colors
Good blending starts with good color selection. For any blended area, you want at least three values of the same hue — a dark, a mid-tone, and a light. These three tones will form the gradient from one end of your shape to the other.
For example, when coloring a flower petal: a deep red at the base, a mid-range red-purple in the middle, and a soft lavender at the tips. All three are in the same color family, making the transition feel natural rather than jarring. The greater the jump between your darkest and lightest color, the more blending passes you’ll need.
The Layering Technique: Step by Step
Step 1 — Start with Your Darkest Color
Begin in the area where your darkest color will live. Use very light pressure — small circular strokes or long, overlapping ovals work well. You’re not trying to achieve full coverage yet. You’re laying a base. Think of it like a watercolor wash: transparent and buildable.
As you move toward the area where your mid-tone will begin, lighten your pressure further. This creates a soft fade-out that your second color can blend into naturally.
Step 2 — Introduce Your Mid-Tone
Overlap the mid-tone color into the tail end of your dark color. The overlap zone is where the blend happens — keep your strokes light and your movements circular or oval, so the two colors interlock rather than collide. Coloring is a slow medium. Rushing produces lines. Patience produces gradients.
Rotate your pencil as you work — this keeps the tip sharper longer and ensures consistent coverage without scratchy marks.
Step 3 — Add Your Lightest Color
Continue the same process with your lightest color, overlapping into the mid-tone area. By this point you have a soft gradient in place. Now go back and repeat the entire sequence — dark, mid, light — with slightly more pressure. Each pass deepens the color and softens the transitions further.
Step 4 — Blend with a Light Color
Here’s a technique many beginners don’t know: you can use a very light pencil — cream, pale yellow, or even your lightest color — to physically blend and smooth the layers underneath. Use gentle circular pressure to work the lighter pencil over the transition zones. This moves the pigment slightly, fills gaps, and creates the seamless look you’re after.
A dedicated white colored pencil for blending is also extremely effective for this step — it lifts and smooths pigment without adding strong color of its own.
Key Tips to Remember
- Always keep your pencil sharp. A sharp tip gets into the tooth of the paper and deposits pigment consistently. A blunt tip slides over the surface.
- Work light-to-dark, not dark-to-light. Starting dark closes off your options. Starting light keeps every door open.
- Overlap generously in the transition zone. The wider your overlap, the softer the blend.
- Don’t rush. Multiple light layers always outperform a few heavy ones.
- Use circular strokes rather than back-and-forth lines to avoid visible stroke direction in finished work.
Going Further
Once you’re comfortable with basic blending, explore other techniques that build on these same principles. Watercolor pencils open up entirely new blending possibilities using water as a medium. And if you want the smoothest possible large-area blends, alcohol-based markers are worth exploring alongside your colored pencils.
Ready to practice? Browse our library of 1,000+ printable coloring pages — pick a floral or nature design with large open areas and put these techniques to work.